


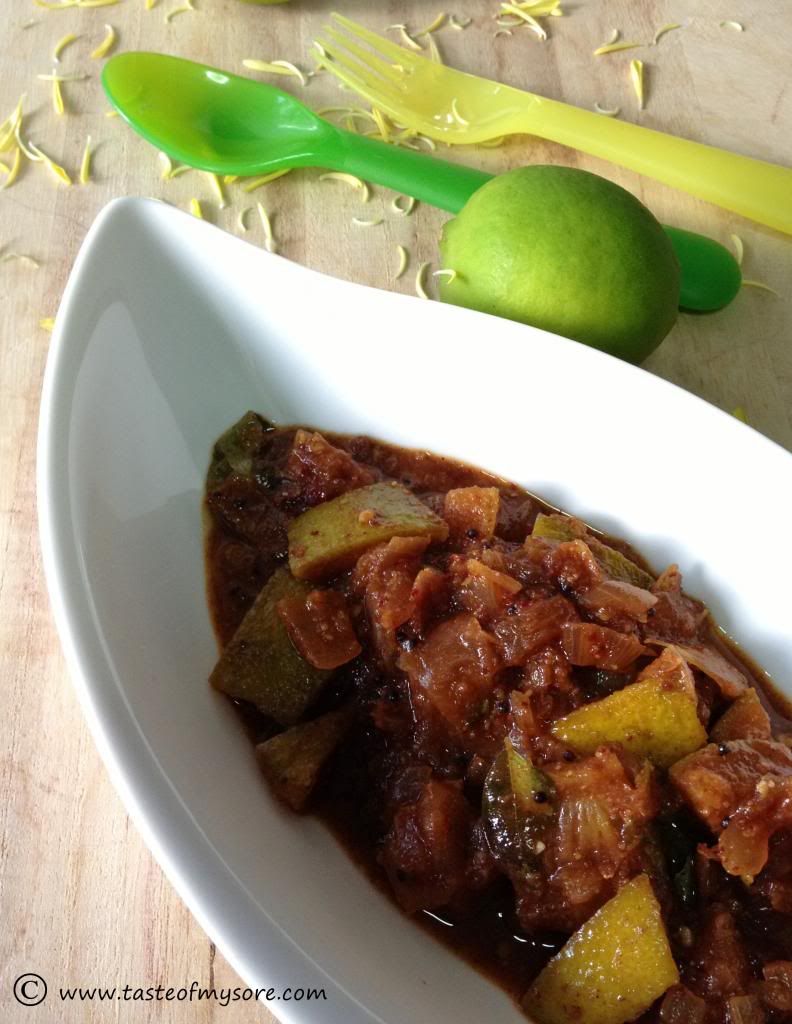
Heralekai Thokku/Pickle
Call it Thokku/Pachadi/Pickle anything, this pickle challenges your taste buds. Try it!

Varamahalakshmi Vrata~ Tie a saree to Kalasha(updated)
Friday, 16 August is Varamahalakshmi Vrata. A simple post to show how to tie a saree to Kalasha.
Step 1:
Assemble boxes which you can find at home like this:
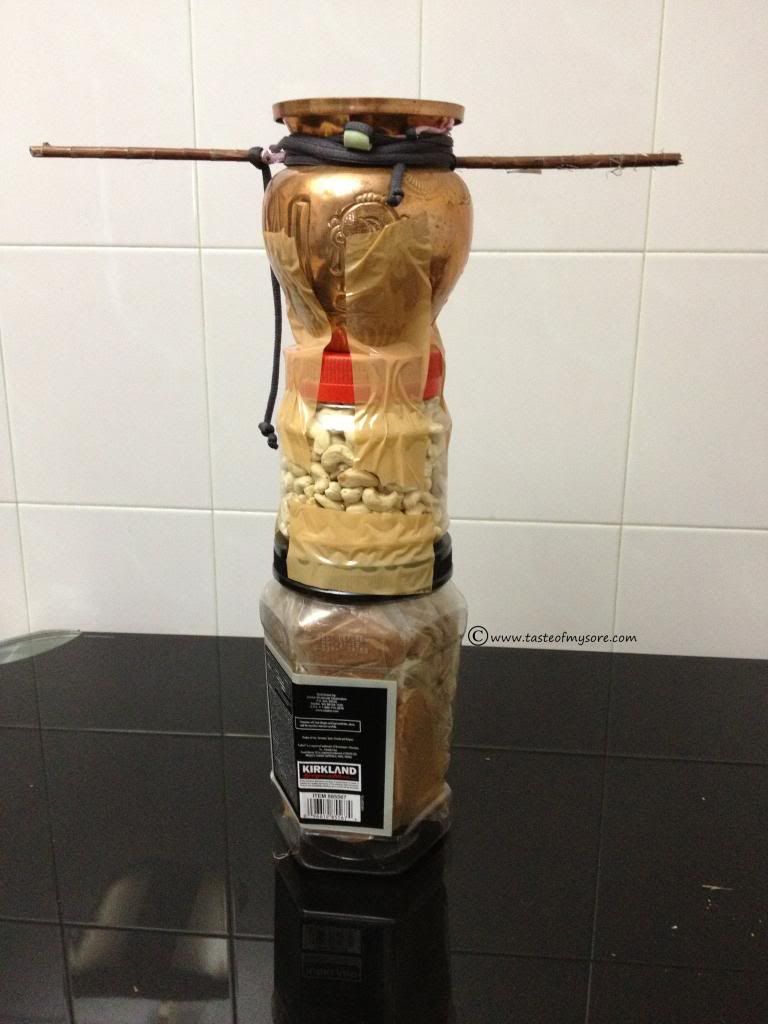
Use a gum tape to glue the boxes together. Keep your kalasha on top and glue tape it to the boxes as shown. Tie a 12" stick as shown in the picture. Make sure that the tape are secured tightly as you do not want to see any mishaps.
Step 2.
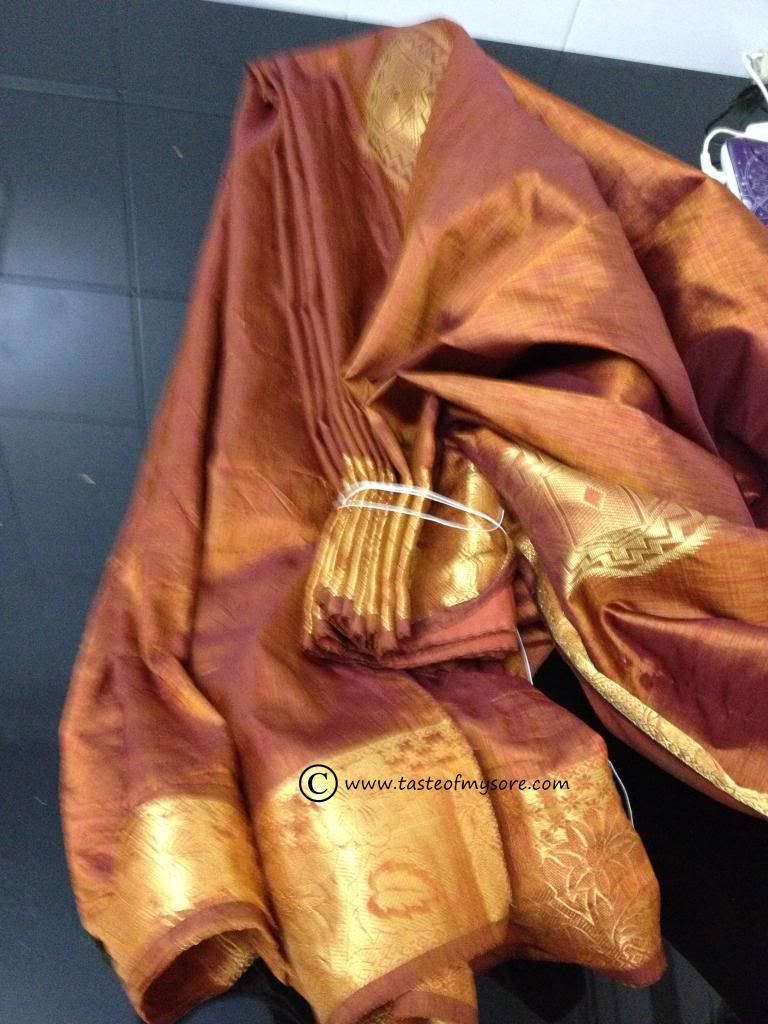
Keep the saree ready. We believe in using a new saree or a saree kept aside for goddess only for such festive occassions. Please check with your elders in the family for saree tye, color etc.
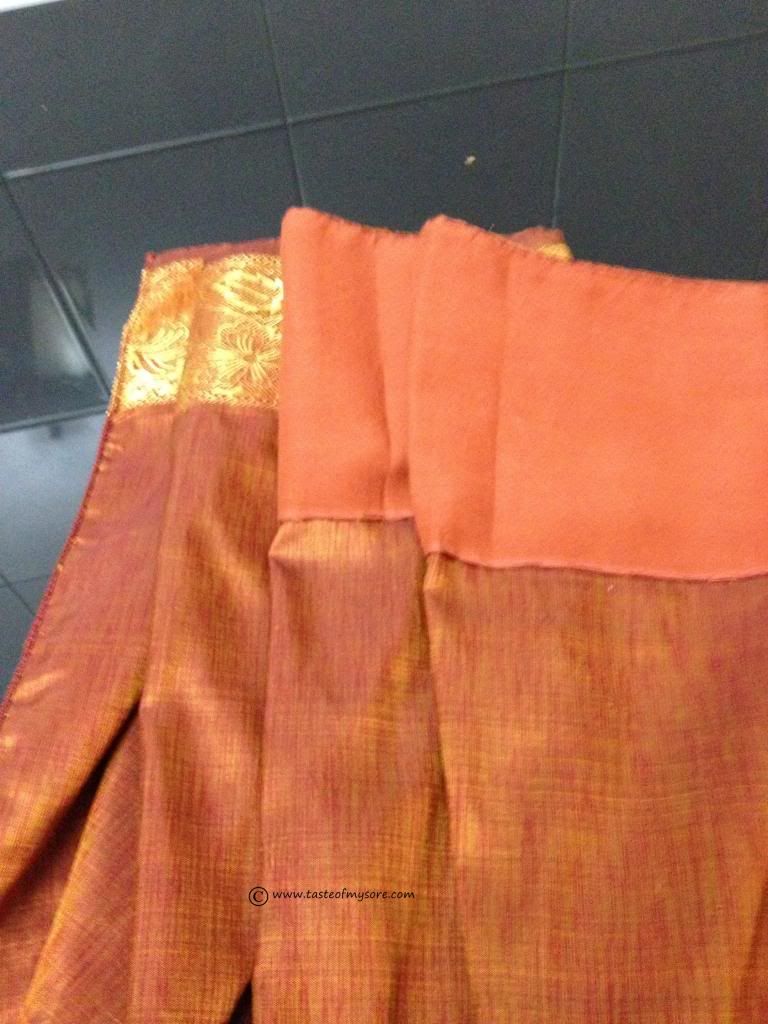
Start from the 'bottom line' of the saree where a flase border is inserted to sarees to protect the borders. Pleat the saree. Take smaller pleats. Hold all the pleates and tie it at the end using a thread. This will help keep all the pleats in one place.
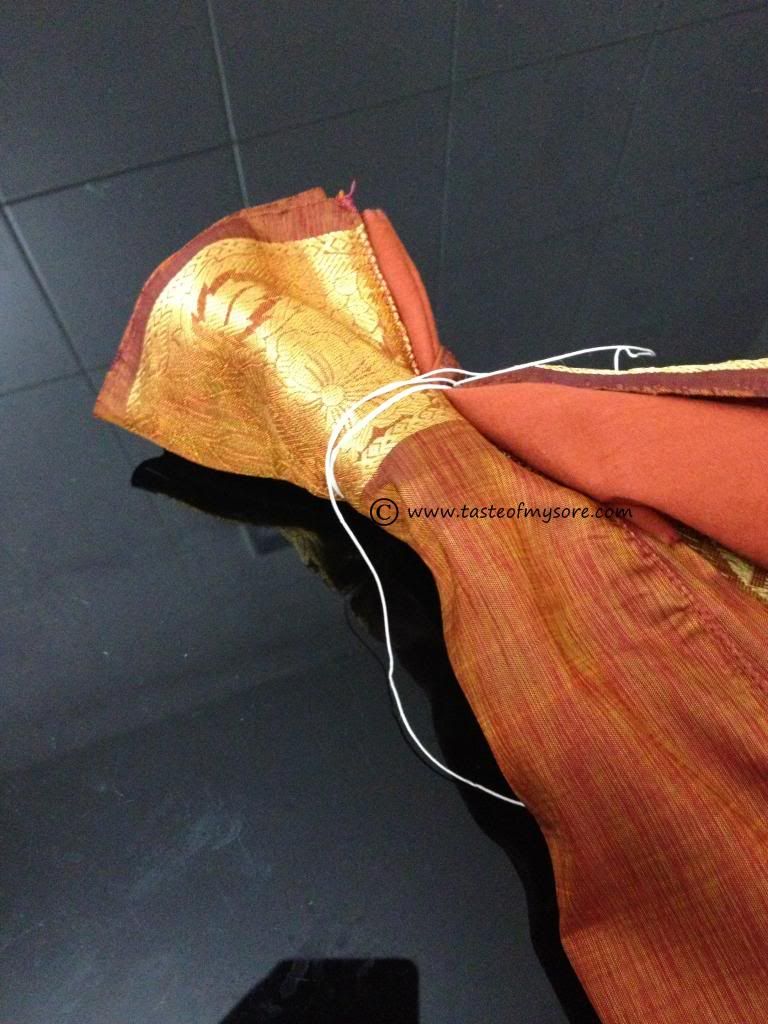
Step 3.
Measure the height of the boxes you have piled up using saree from the folded end.
Once you know the height, fold the saree and pass a thread..like this:

Release the thread you tied to the pleats. Spread the pleats and tie it to the box.
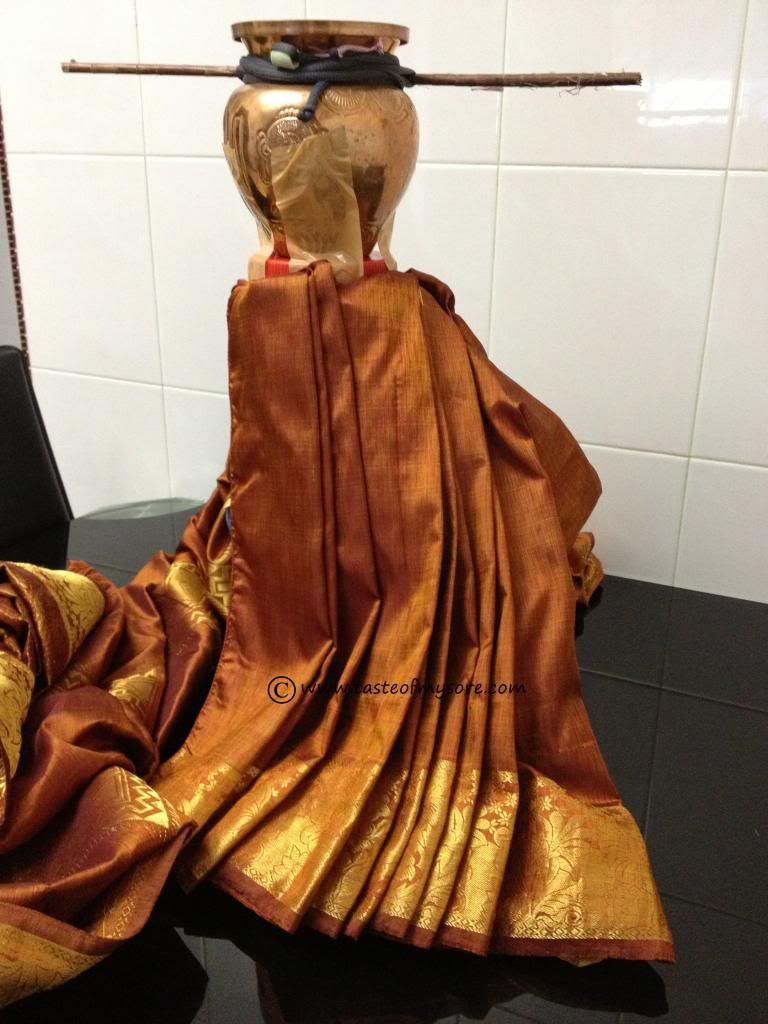
Once you have secured the thread, fold the back portion of the saree nicely and hide it behind the box. Pick the 'pallu' part and pleate them.
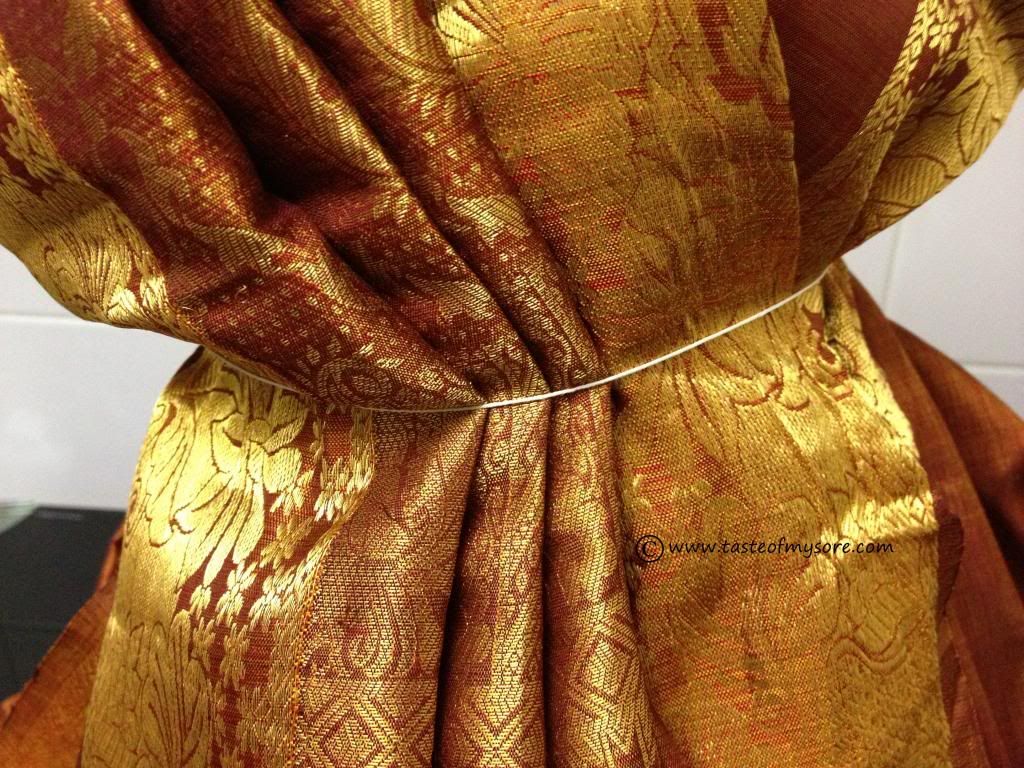
Pleat the pallu part and bring it to the front and over the stick, like this..

Bring the pleats together and tie a thread in the center to hold everything together, like this :
Neaten up the saree. Now, the kalasha is ready to have it's head, which is another task in itself :)
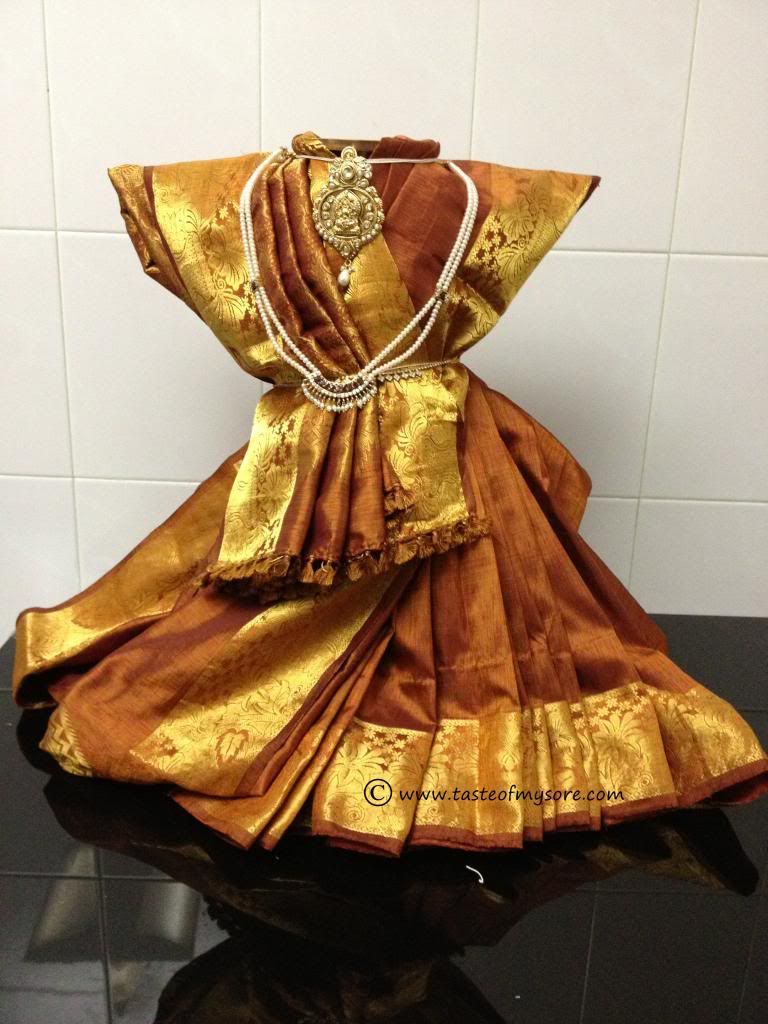
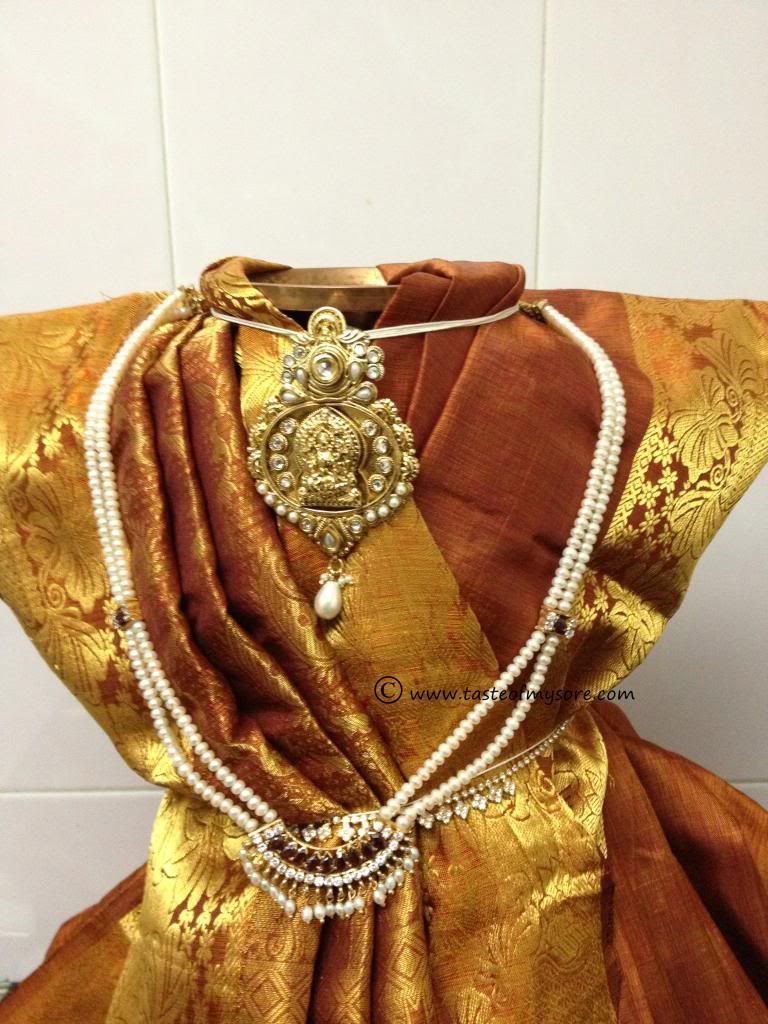
A closer look..
Use your own jewellary or make some using your creativity.
If you are thinking how to draw goddess Lakshmi. Take a look at this website :
Gnaana.com/How to draw Goddess Lakshmi
Lakshmi Mukhavada Alankara at Shringar Costumes, Bengaluru

If you know any other tips to make hands, legs etc, do share it. Thanks everyone for visiting Taste of Mysore. Happy Festival everyone.
Step 1:
Assemble boxes which you can find at home like this:

Use a gum tape to glue the boxes together. Keep your kalasha on top and glue tape it to the boxes as shown. Tie a 12" stick as shown in the picture. Make sure that the tape are secured tightly as you do not want to see any mishaps.
Step 2.
Keep the saree ready. We believe in using a new saree or a saree kept aside for goddess only for such festive occassions. Please check with your elders in the family for saree tye, color etc.

Start from the 'bottom line' of the saree where a flase border is inserted to sarees to protect the borders. Pleat the saree. Take smaller pleats. Hold all the pleates and tie it at the end using a thread. This will help keep all the pleats in one place.

Step 3.
Measure the height of the boxes you have piled up using saree from the folded end.
Once you know the height, fold the saree and pass a thread..like this:


Release the thread you tied to the pleats. Spread the pleats and tie it to the box.

Once you have secured the thread, fold the back portion of the saree nicely and hide it behind the box. Pick the 'pallu' part and pleate them.

Pleat the pallu part and bring it to the front and over the stick, like this..

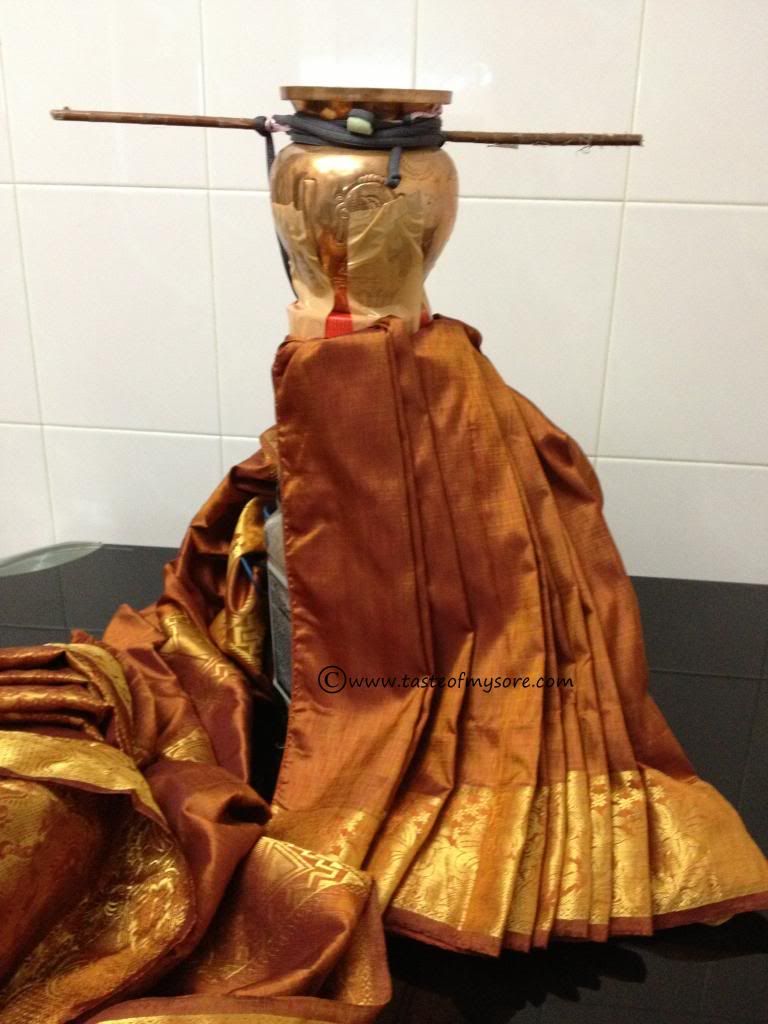
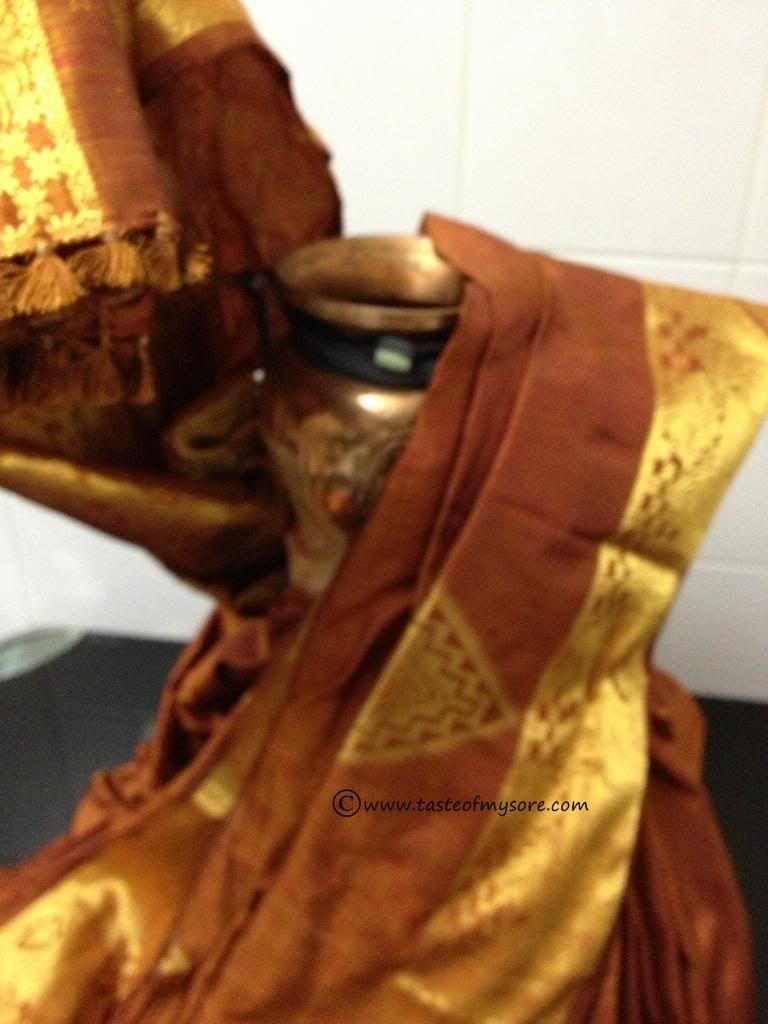
Step 4:
Take the pallu in such a way that it covers Kalasha and stick on both sides. Bring the rest of the pallu from back to front over the stick :

Leave the rest of the pallu in the front as shown in the picture below. Again, cover the kalsha and stick with the saree. Adjust saree accordingly. Rest of the length of the saree should be nicely folded and hid behind the box.

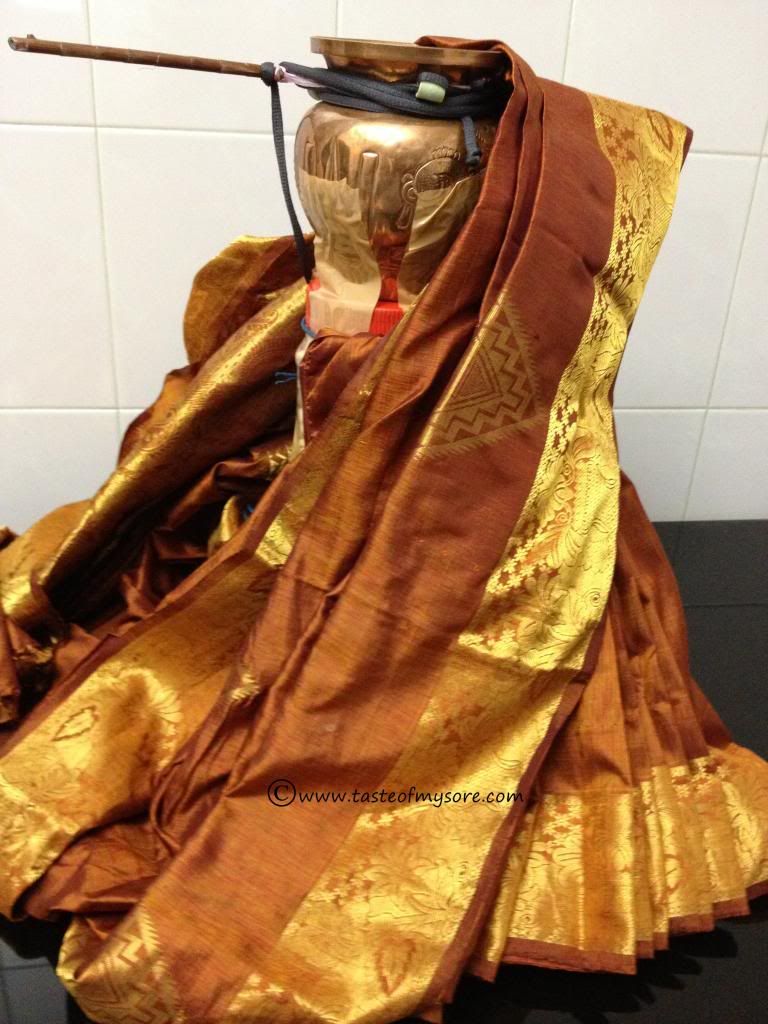
Bring the pleats together and tie a thread in the center to hold everything together, like this :

Neaten up the saree. Now, the kalasha is ready to have it's head, which is another task in itself :)

A closer look..
Use your own jewellary or make some using your creativity.

If you are thinking how to draw goddess Lakshmi. Take a look at this website :
Gnaana.com/How to draw Goddess Lakshmi
Lakshmi Mukhavada Alankara at Shringar Costumes, Bengaluru

If you know any other tips to make hands, legs etc, do share it. Thanks everyone for visiting Taste of Mysore. Happy Festival everyone.
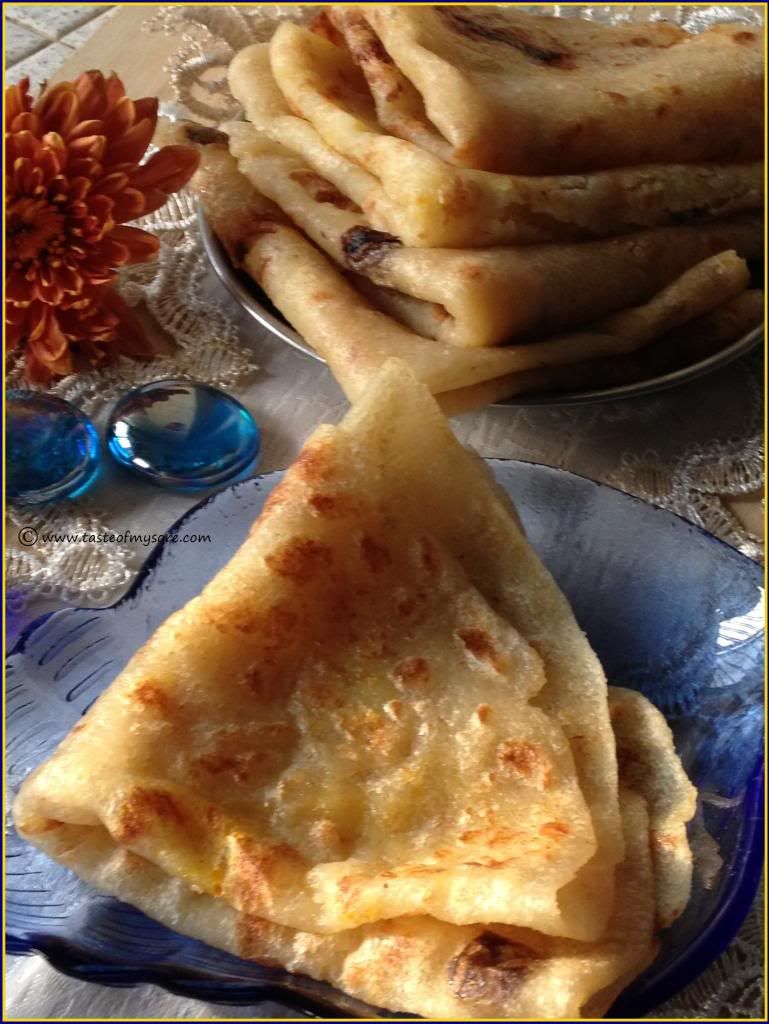
Sajjige Holige ~ Transform Sheera/Kesaribhath into Puran Poli
Shravana Maasa is synonymous to festivals and sweets...
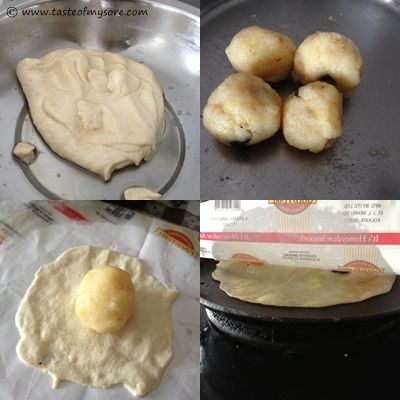
4. Take a non-stick paper. Add a tsp of oil and spread it evenly with your fingers. Pinch the maida(all purpose flour) dough and spread it thin on the paper.
5. Place sajjige in the center. Pull the dough from all sides to the cener and lock the sajjige inside.
6. Press it down and with a well-oiled rolling pin, roll it.
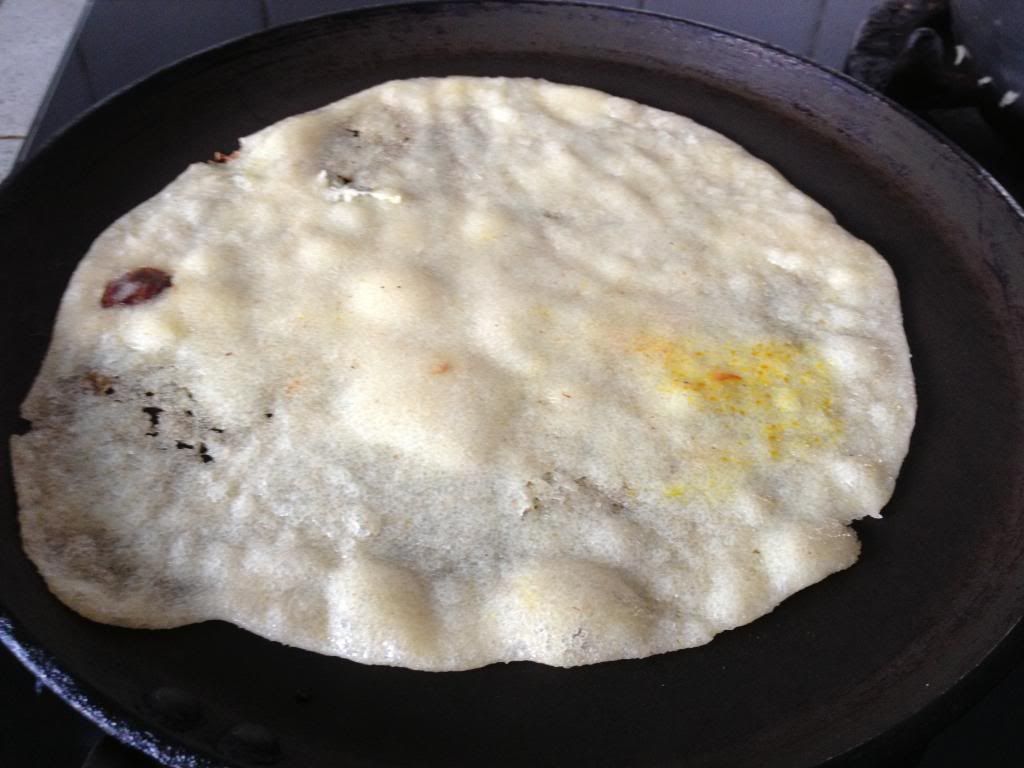
7. Transfer holige over to the pan and spread a tsp of oil on top of it. Fry well on both sides.
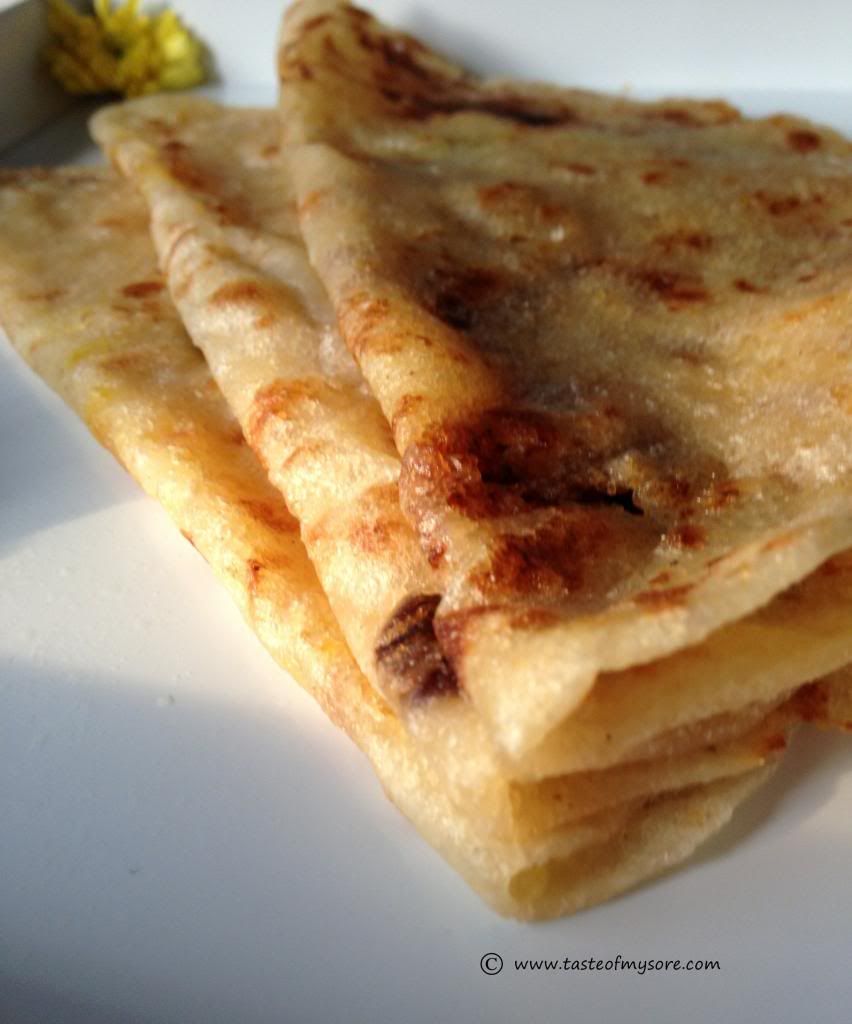
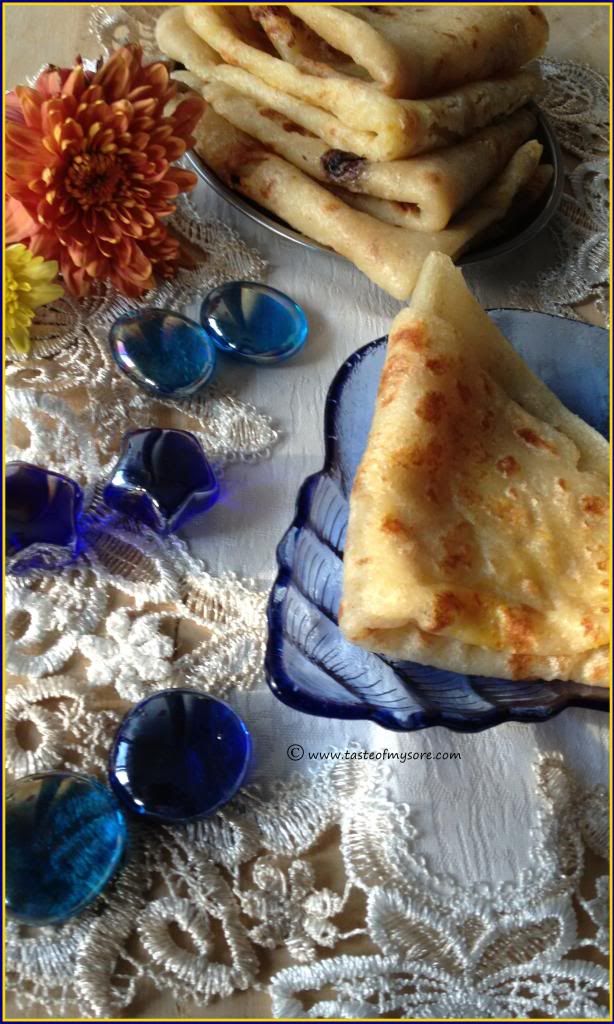
8. Pile them up like this....
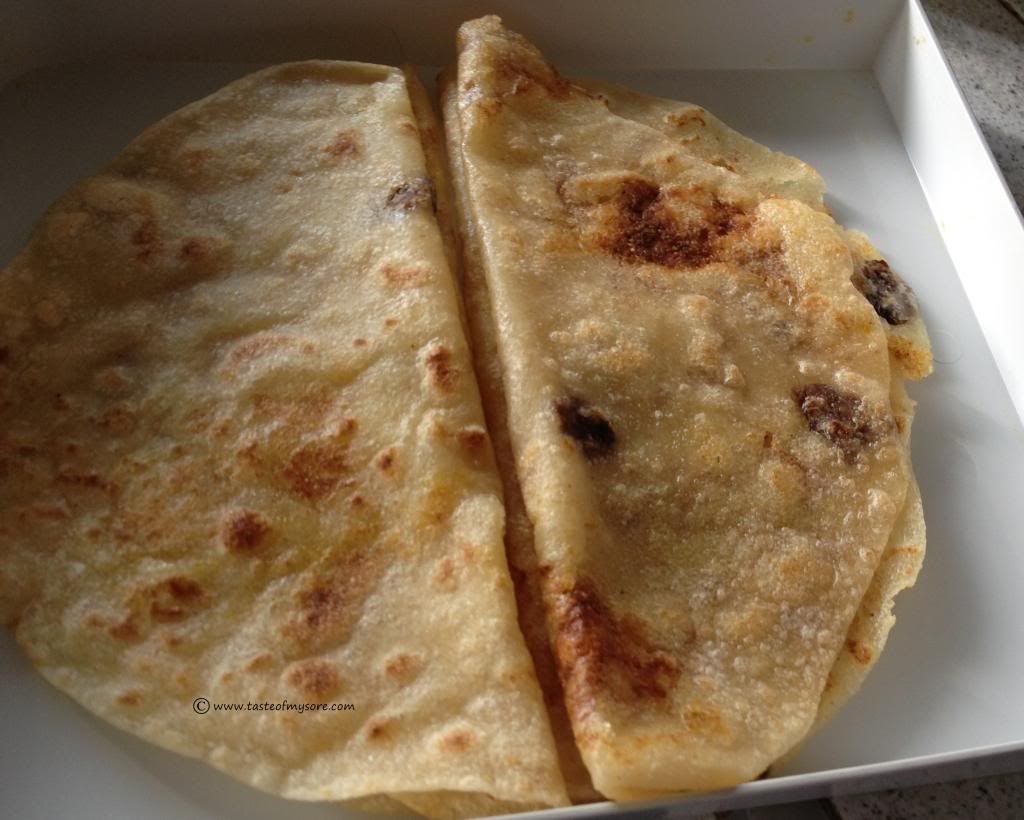
9. The aroma of this holige is irrestible. It's unique fragrance draws anyone to your kitchen.


It is festival time and it's time to blog few creative twists to traditional recipes. Here is one among them. Thanks to amma and ajji for teaching this.
Ingredients:
Sajjige - 1 bowl (left over or you can prepare fresh)
*Sajjige is also called Kesaribhath in Karnataka. Other names for the same dish are Kesari, Sheera, etc., Sajjige = Kesaribath-Color
All Purpose Flour (Maida) + Chiroti Rava- 1 tbsp + 1 cup
Salt- A pinch
Water
Oil
Method: 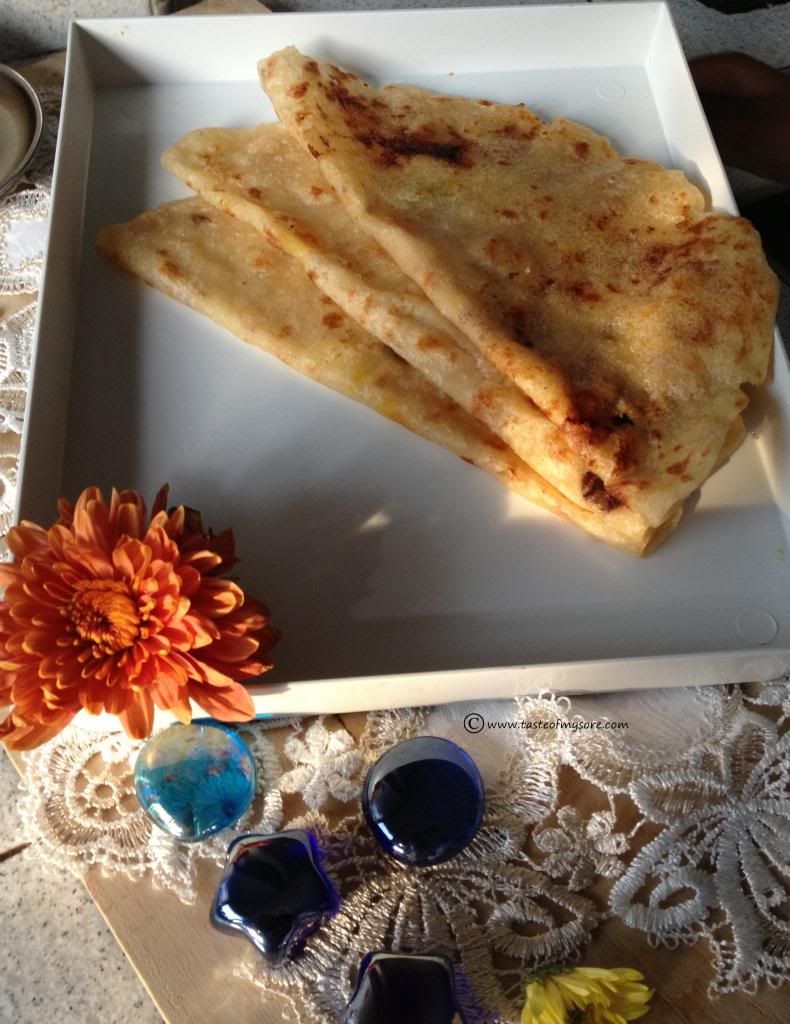

1. Mix maida with chiroti rava and a pinch of salt and mix to make a loose yet firm dough. Pour a 50ml oil on the maida flour and let it stand for 30 minutes.
2. Make lemon sized balls with sajjige.
3. Below is the collage of pictures :

5. Place sajjige in the center. Pull the dough from all sides to the cener and lock the sajjige inside.

6. Press it down and with a well-oiled rolling pin, roll it.
7. Transfer holige over to the pan and spread a tsp of oil on top of it. Fry well on both sides.

8. Pile them up like this....

9. The aroma of this holige is irrestible. It's unique fragrance draws anyone to your kitchen.

10. Do not forget to serve it with a little ghee and tons of love :) Oh Yeah!! Pick one here before you leave....

Subscribe to:
Posts (Atom)